Let’s be honest, we’ve all been there. You’re pouring a well-deserved cup of tea after a long day, and you spot them: little white, flaky floaties doing a sad dance in your mug. That, my friend, is limescale. And while it’s mostly harmless, it’s certainly not a welcome guest at tea time. The good news is that learning How To Replace Kettle Filter components is a simple, five-minute fix that can dramatically improve your daily brew. Your kettle’s little mesh filter is the unsung hero standing between you and a gritty surprise, and giving it some attention is one of the easiest upgrades you can make to your kitchen routine. In this guide, I’ll walk you through everything you need to know, from identifying the right time for a change to finding the perfect replacement and fitting it like a pro.
Why Bother With That Tiny Filter Anyway?
It’s easy to overlook that small piece of mesh tucked inside your kettle’s spout, but its job is crucial, especially if you live in a hard water area. Think of it as the final gatekeeper for your hot water.
Its primary functions are:
- Trapping Limescale: As water boils, calcium and magnesium minerals precipitate out and form limescale, a chalky deposit that clings to the heating element and inner walls of your kettle. When you pour, loose bits can break off. The filter catches these particles before they end up in your drink.
- Improving Taste and Texture: By preventing scale from getting into your cup, the filter ensures a cleaner, purer taste. It also prevents that unpleasant, slightly gritty texture that can ruin a perfectly good cup of coffee or tea.
- Protecting Your Kettle: While the filter doesn’t stop limescale from forming, it indicates how much build-up is happening inside. A clogged filter is a clear sign that it’s time for a full descale, a process essential for maintaining your kettle’s efficiency and lifespan. You can learn more about that in our Ultimate Guide to Descaling Your Electric Kettle.
When Should You Replace Your Kettle Filter?
The ideal frequency for a filter change depends heavily on your water hardness and how often you use your kettle. There isn’t a one-size-fits-all answer, but you should look out for a few tell-tale signs that it’s time for a replacement.
You should consider learning how to replace kettle filter parts when you notice:
- Visible Damage: The most obvious sign is physical damage. If the mesh has a hole or a tear, it’s no longer doing its job. Limescale will slip right through. The plastic frame can also become brittle over time and crack.
- Permanent Staining or Clogging: Sometimes, even after a thorough cleaning, the limescale build-up is so severe that it permanently clogs the mesh. If water is pouring very slowly or splashing erratically, a clogged filter is the likely culprit.
- Brittleness or Warping: The constant exposure to high heat can cause the filter’s plastic frame to warp or become brittle. If it doesn’t clip in securely anymore, it’s time for a new one.
“In areas with very hard water, a kettle filter can become saturated with mineral deposits in as little as three to six months. While regular cleaning helps, the micro-pores in the mesh eventually become blocked, reducing its effectiveness. Replacing it is a small investment in the long-term performance of your appliance.”
— Dr. Alistair Finch, Appliance Longevity Specialist
Finding the Right Replacement Filter: A Quick Guide
Before you can perform the swap, you need the right part. Getting a filter that fits perfectly is essential for it to work correctly. An ill-fitting filter can fall out during a pour or leave gaps for limescale to escape.
How do I find the correct filter for my kettle?
Your best bet is to start with your kettle’s manufacturer. Here’s a simple checklist to follow:
- Check the Manual: Your user manual is the first place to look. It will almost always list the specific model number for replacement parts.
- Look on the Kettle Itself: Find the model number, usually on a sticker on the base of the kettle. A quick search online for “[Your Kettle Brand] [Model Number] replacement filter” will often lead you to the right place.
- Visit the Manufacturer’s Website: Most major brands (like Breville, Cuisinart, or Russell Hobbs) have a “Parts & Accessories” section on their website where you can order directly.
- Consider Universal Filters: If you have an older or more obscure model, you might struggle to find an original equipment manufacturer (OEM) part. In this case, universal kettle filters are available. Just be sure to measure the filter slot in your kettle carefully before buying.
|
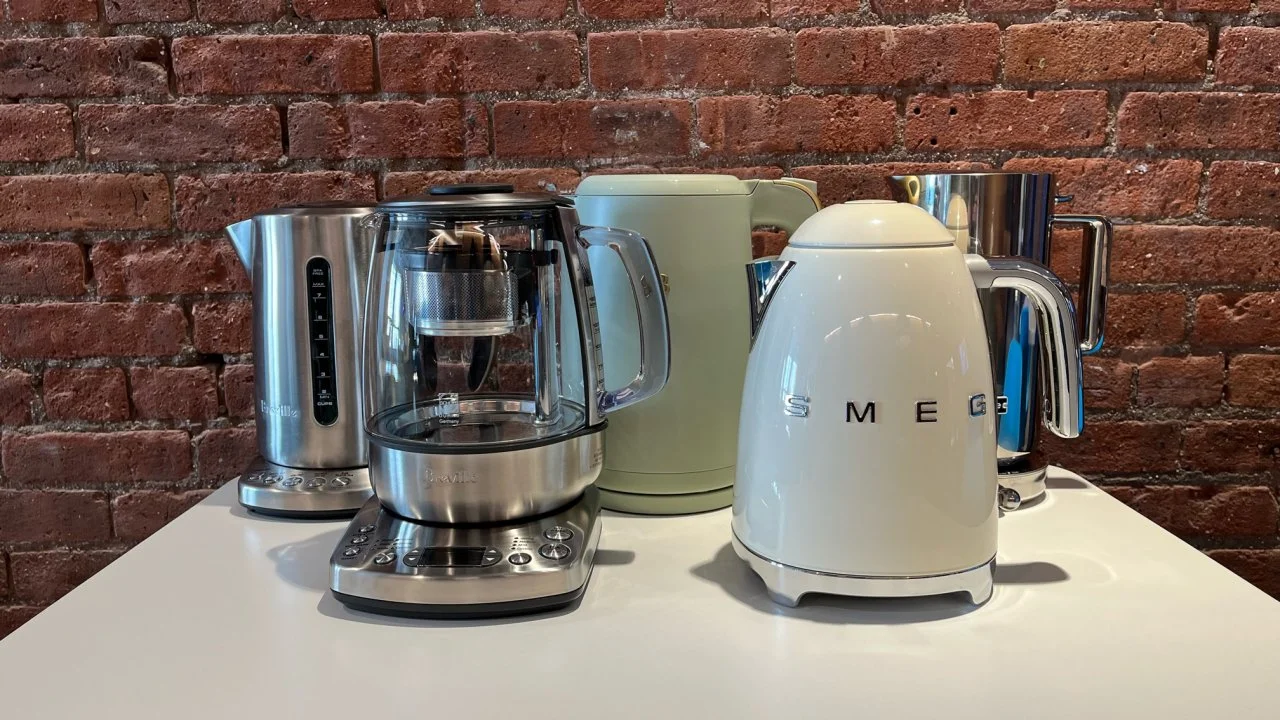
Our Picks for the Best Electric Kettle in 2026
As an Amazon Associate, we earn from qualifying purchases.
|
||
| Num | Product | Action |
|---|---|---|
| 1 | Chefman Electric Kettle with Temperature Control, 5 Presets LED Indicator Lights, Removable Tea Infuser, Glass Tea Kettle & Hot Water Boiler, 360° Swivel Base, BPA Free, Stainless Steel, 1.8 Liters |

|
| 2 | Arofeer® 1.7L(57oz) Large Electric Kettle Temperature Control, 7+Cups Electric Tea Kettle for Coffee&Tea, 2 quarts Big Hot Water Kettle Electric with,1200W,Keep Warm-Black |
|
| 3 | Chefman Electric Kettle, 1.8L 1500W, Hot Water Boiler, Removable Lid for Easy Cleaning, Auto Shut Off, Boil-Dry Protection, Stainless Steel Filter, BPA Free, Borosilicate Glass Electric Tea Kettle |
|
| 4 | Cuisinart 1.7-Liter Stainless Steel Cordless Electric Kettle with 6 Preset Temperatures |
|
| 5 | Electric Kettle 1.0L 1200W, 7 Temp Settings, 4H Keep-Warm, Fast-Boil Stainless Steel Electric Tea Kettle, 120V Water Boiler with Auto-Shut Off, Cool Touch PP Exterior for Home Office, Black |
|
| 6 | Cuisinart Soho 1 Liter Double Wall Electric Kettle, Truffle |
|
| 7 | Chefman Electric Kettle with Temperature Control, 5 Presets LED Indicator Lights, Removable Tea Infuser, Glass Tea Kettle & Hot Water Boiler, 360° Swivel Base, BPA Free, Stainless Steel, 1.8 Liters |
|
| 8 | COMFEE\' Stainless Steel Electric Kettle, Temperature Control with 6 Presets, 1-Hr Keep Warm, Kettle Water Boiler 1.7 Litres, 1500W with Viewing Window, Auto-Off and Boil-Dry Protection |
|
| 9 | Cosori Electric Kettle, No Plastic Filter & Spout, 1.7L Tea Kettle & Hot Water Boiler For Coffee & Tea, Water Heater & Teapot, Automatic Shut Off, Borosilicate glass, Black, 1500W |
|
| 10 | Amazon Basics Electric Stainless Steel Kettle for Tea and Coffee, BPA-Free, Fast Boiling, Auto Shut-Off, 1.1 Quarts, 1500W, Black and Silver |
|
The Main Event: How to Replace Kettle Filter Step-by-Step
Alright, you’ve got your new filter in hand. Now for the easy part. This process rarely requires any tools and should take less than a minute.
- Safety First! Unplug your kettle and make sure it’s completely cool. Empty any water that’s left inside. You don’t want to be fumbling around inside a hot, wet appliance.
- Remove the Old Filter. Open the kettle lid. The filter is located on the inside of the spout. Most filters are held in by simple clips or slide into a groove. Gently pull or press on the tab holding it in place. It should pop out easily. If it feels stuck, don’t force it—wiggling it gently side-to-side will usually loosen any limescale that’s holding it in place.
- Clean the Spout Area. Take a moment to wipe down the inside of the spout and the area around the filter slot with a damp cloth. This removes any loose scale that was trapped behind the old filter.
- Install the New Filter. Take your shiny new filter and align it with the slots inside the spout. It should only fit one way. Gently press it into place until you hear or feel a satisfying click. This confirms it’s securely seated.
- Do a Test Run. Fill the kettle with fresh water and boil it once. Discard this first boil—this helps to rinse away any manufacturing residue from the new filter and ensures your next cup is perfect.
And that’s it! You’ve successfully learned how to replace kettle filter parts and have restored your kettle’s first line of defense against limescale.
What If I Can’t Find a Replacement Filter?
It can be frustrating when you can’t find the specific part for your beloved kettle. If an OEM filter is nowhere to be found, you have a couple of options. You could try a universal filter, which often comes in a sheet that you can cut to size. However, be aware that these may not fit as securely as the original. If your kettle is quite old, this might also be a good opportunity to consider an upgrade. Modern kettles often feature improved filtration systems and better materials. Check out our reviews of the Best Electric Kettles for Hard Water to see what’s new on the market.
Frequently Asked Questions (FAQ)
Can I just clean my kettle filter instead of replacing it?
Yes, absolutely! Regular cleaning is key to extending its life. Soaking the filter in a solution of equal parts white vinegar and water for about 30 minutes, followed by a gentle scrub with a soft brush and a thorough rinse, will remove most limescale. You should only replace it when it’s physically damaged or permanently clogged.
How often should I replace my kettle filter?
This depends on your water. For soft water areas, you may never need to. In moderate to hard water areas, inspect it every few months. A good rule of thumb is to replace it every year or whenever you notice it’s torn, warped, or can’t be cleaned effectively anymore.
Are all kettle filters the same?
No, they are not. Filters are specifically designed for the shape and size of a particular kettle’s spout. Using the wrong filter can be ineffective and may even fall into your mug during a pour. Always try to find the specific part for your model.
What happens if I don’t use a filter in my kettle?
Your kettle will still function, but you will get a significant amount of limescale flakes in every cup you pour. This will affect the taste and texture of your beverages and is generally unpleasant. It doesn’t pose a serious health risk, but it definitely ruins the experience.
A Small Step for a Superior Sip
Mastering how to replace kettle filter components is a small but mighty piece of kitchen maintenance. It’s a quick, inexpensive task that pays huge dividends in the quality of your daily tea or coffee. By keeping this little guardian in top shape, you ensure every pour is as pure and delicious as possible, while also helping your kettle run efficiently for years to come. So go ahead, give your kettle the small upgrade it deserves and enjoy the clear, crisp difference in your next cup.